Flavoured Smoke & Bubbles
How to Use a Flavoured Cocktail Bubble Gun: A Detailed Step-by-Step Guide
Jan
Have you just received a flavoured cocktail bubble gun, or are you on the fence about buying one because you’re not sure how it works? Good news: this in-depth guide is for you!
You’ll discover:
- What a smoke and bubble gun is
- How to make perfect flavoured bubbles
- And all the tips for getting the best out of it
1. What is a cocktail bubble gun?
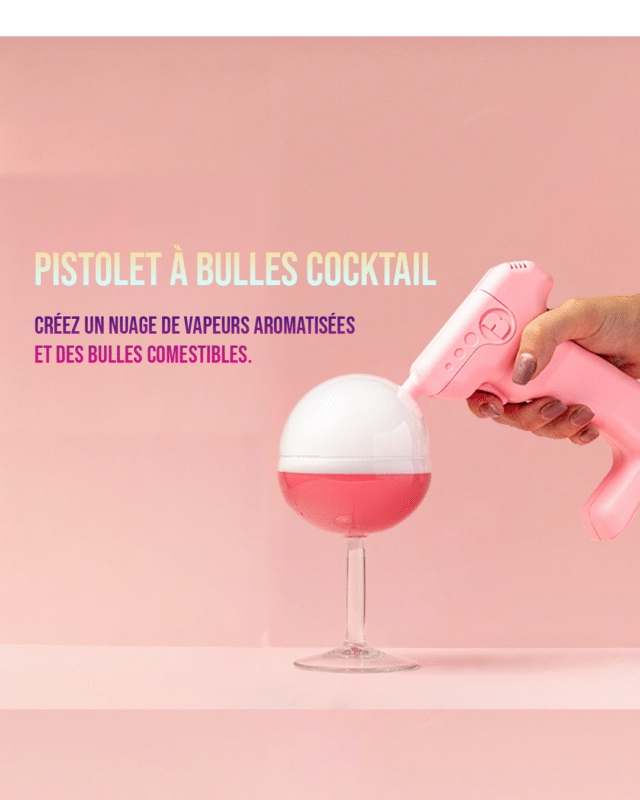
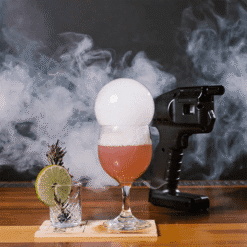
A bubble gun is a portable electric smoker designed to add aromatic smoke or scented bubbles to cocktails or dishes. Ideal for tableside service, it is also increasingly popular as a home smoker.
It works like an e-cigarette: a tank filled with aroma is heated to produce a flavourful vapour.
How the models have evolved
- Previous generation smoke guns: replaceable coils inside the tank
- New generation: disposable tanks with no coils, offering up to 1000 uses – simpler, more hygienic, more practical
💡 PRO TIP
To extend the life of your new-generation tanks, never fire them “dry”, and always wait a few seconds between bubbles to avoid needlessly overheating the vaporising system.
2. Step one: unboxing and getting set up
💡 PRO TIP
For a pure aroma and to protect the battery, always do your first full charge with the device lying flat and without the magnetic or screw-on tank. This rules out any risk of glycerine leaking into the electrical connectors during the initial heat-up.
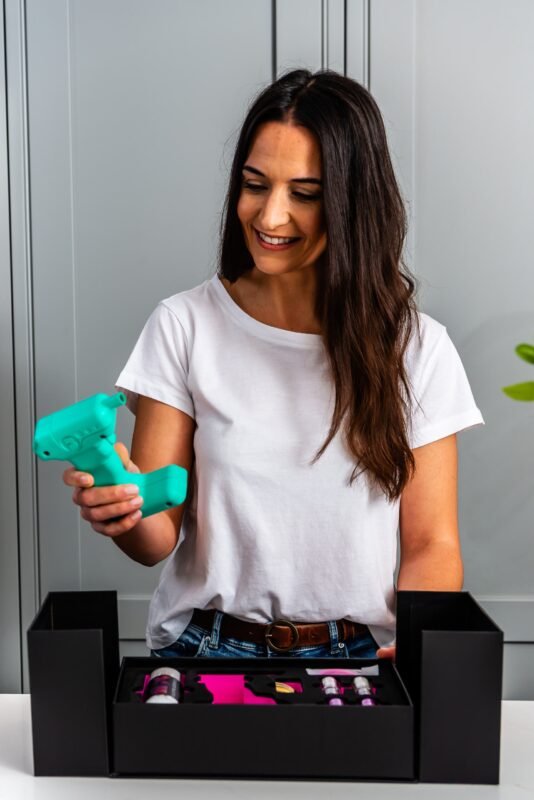
What to check on delivery
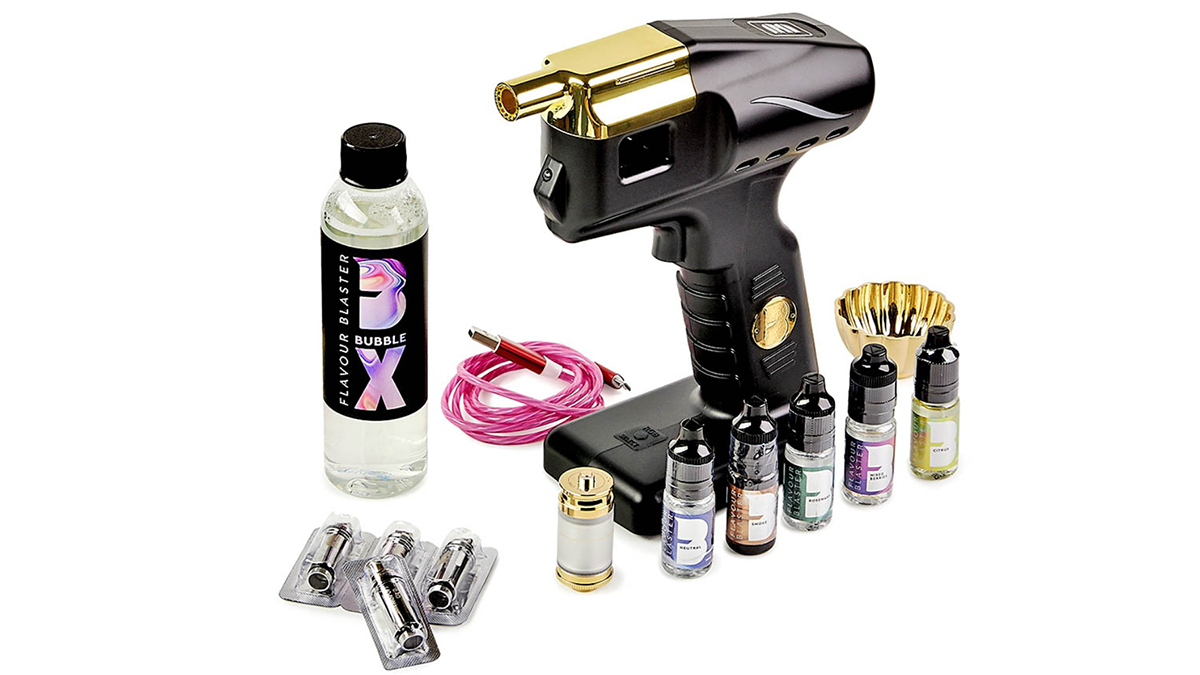
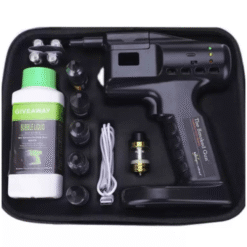
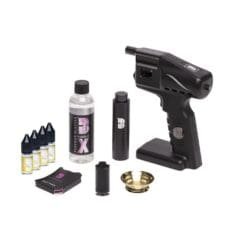
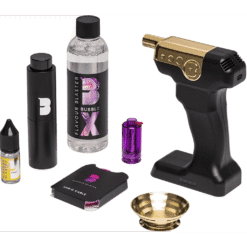
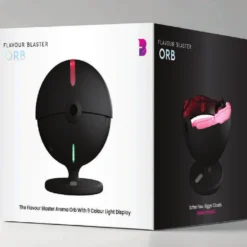
- ✔ The bubble gun (whether it’s a Flavour Blaster, a Molec-Chef, an Aladin 007, etc.)
- ✔ Its original charger
- ✔ The tank, empty or pre-fitted
- ✔ Possibly: bubble liquid, the user manual and gun accessories
Charging the device: best practice
Never charge the device with a full tank: an accidental trigger could fill the room with smoke or burn out your coil, if your model has one.
Plug the device in with its original charger to avoid a power surge that could damage the battery.
A red light shows it is charging; it turns green once fully charged
Filling the aroma tank
If you switch aromas, clean the tank to avoid mixing them
All our aromas are made with vegetable glycerine and natural flavour extracts (nicotine-free)
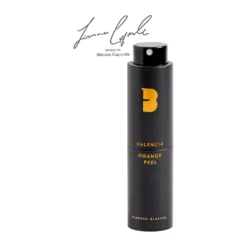
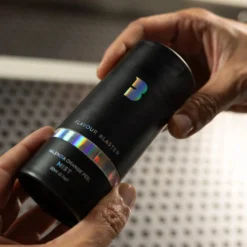
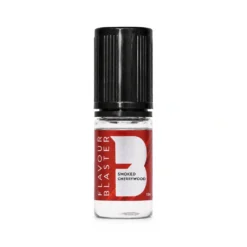
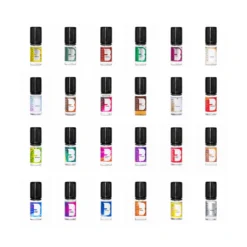
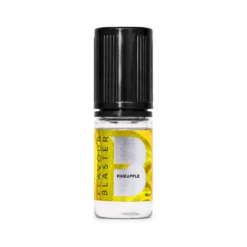
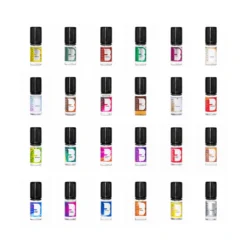
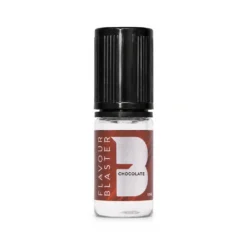
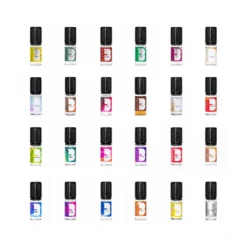
Here are all our aromas: 25+ options from sweet to savoury to suit every taste (bubble gum, citrus, mint, rose, truffle, coffee, etc.) – indulgent, lemony, fresh, floral, earthy and more
Fill the tank completely to avoid misfires and make sure you have enough liquid to create smoke or bubbles.
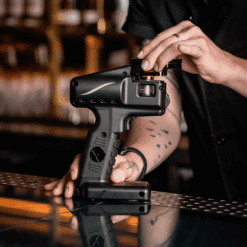
Fit the tank onto your bubble gun (on a Flavour Blaster, the tank clips on magnetically; on a Molec-Chef, the first coil comes already fitted in the tank, so you just screw it onto the base of the smoke gun).
3. First test: producing smoke and flavoured bubbles
Adjusting smoke density
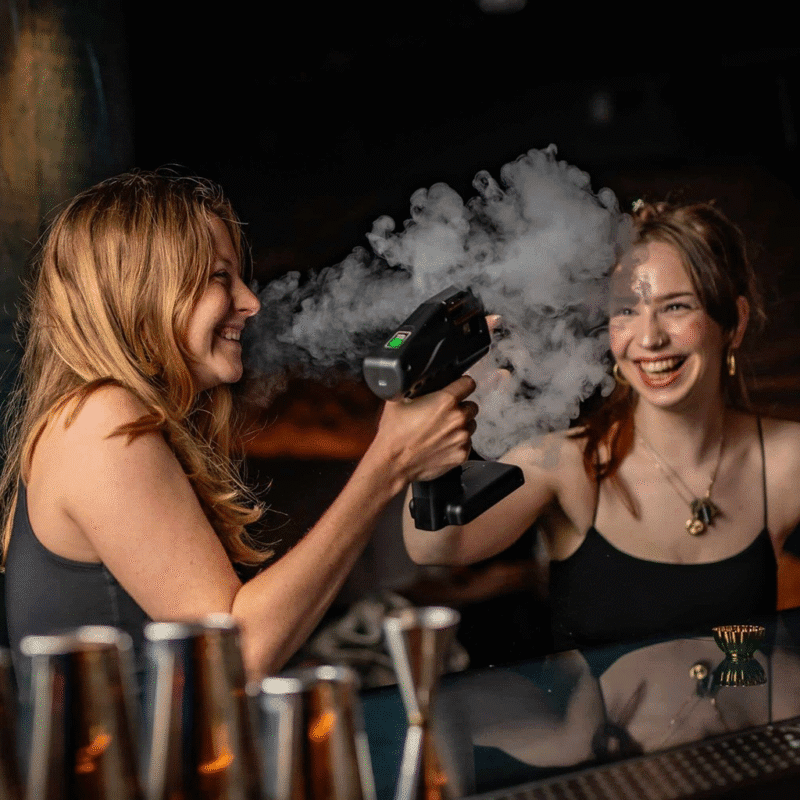
Press the trigger:
- A short press produces a light cloud of smoke
- A longer press increases the vapour density
🔸 You can smell the aroma, test its intensity and judge whether it suits your cocktail.
Direct application
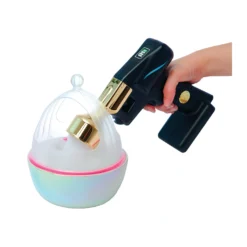
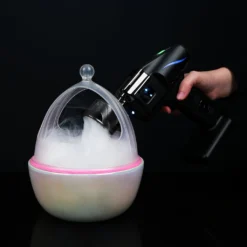
- Point the gun at a cocktail glass, a plate or a glass cloche
- Watch the scented smoke wrap around your creations
- A unique experience for the eyes, nose and palate!
Now for the step you’re probably most excited about: creating flavoured vapour bubbles!
Creating flavoured bubbles
What is bubble liquid and how do you use it?
A dedicated bubble liquid is supplied (if you chose the Flavour Blaster, the bottle holds 180 ml; it’s vegan, kosher and of course non-toxic). With the Molec-Chef brand, you’ll get a small 50 ml bottle – but don’t worry, even 50 ml makes around 1000 bubbles. Dip the nozzle of your gun into the bubble liquid (make sure the nozzle is well coated – that’s the key to a successful bubble), but be very careful not to get bubble liquid anywhere except the nozzle: the Molec-Chef has no water-resistance rating, so take great care.
- Dedicated liquid (e.g. Flavour Blaster: 180 ml / Molec-Chef: 50 ml)
- Non-toxic, vegan, kosher, designed for food use
- 50 ml makes up to 1000 bubbles
Now that the aroma tank is full and the gun’s nozzle is soaked in bubble liquid, you’re ready for a half-hour challenge: learning to make bubbles!
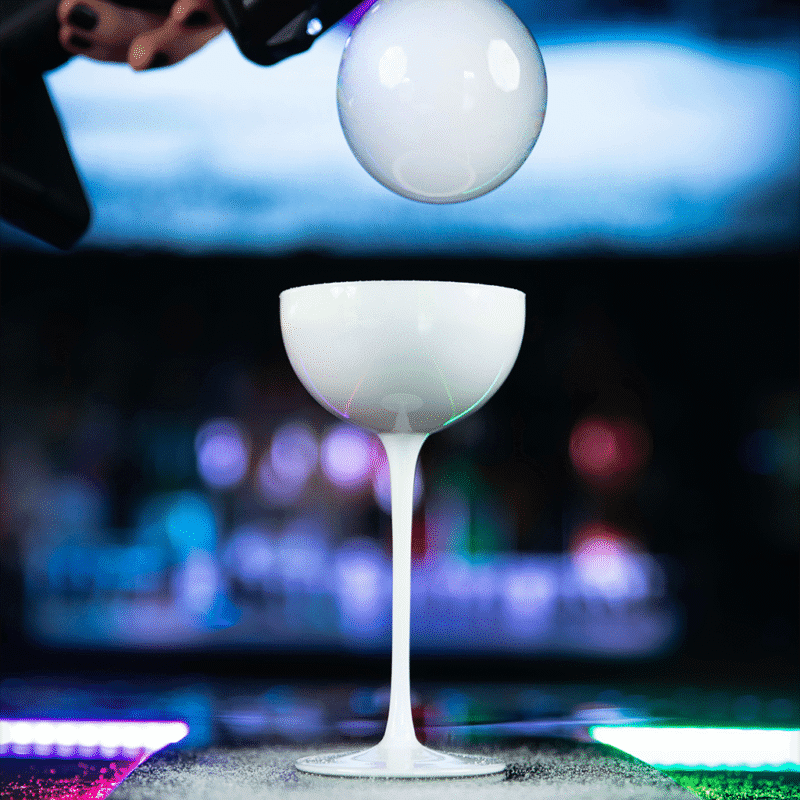
Here’s a short tutorial explaining, from my own experience, what works and what doesn’t work so well.
💡 PRO TIP
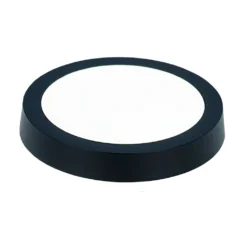
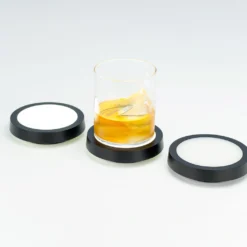
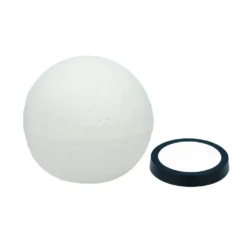
To stop the bubble bursting, tilt your gun to 45° as you place it on a moist surface, and always use glasses designed for bubbles: standard glasses often don’t give the bubble enough grip, and all your efforts will fall flat.
4. Tips for perfect bubbles: glasses, surfaces, environment
What works best if you decide to go ahead without dedicated glasses:
- Standard glasses (grip +): unreliable, unless you get lucky
- Very thin-walled fine glassware (grip ++)
- Plastic glasses (grip +++)
- Surfaces misted with a water atomiser: moisture makes bubbles last. Dryness, on the other hand, makes them burst quickly. What’s more, in most cases the bubble needs to be placed directly on the surface of the cocktail to form properly.
How bubbles behave on different drinks
- Strong alcoholic drinks or fizzy drinks: bubbles don’t hold as well
- Solution: use a special bubble spoon, or spray a little water with the atomiser
💡 PRO TIP
Choose plastic or very thin glass and always mist the rims with a water atomiser: moisture is the only effective defence against bubbles bursting early because of dryness or the fizz of carbonated drinks.
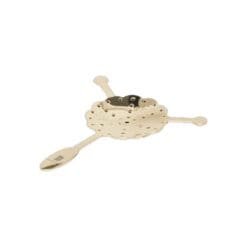
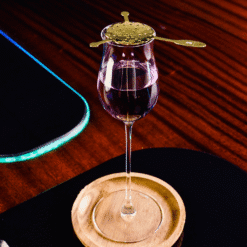
Test different surfaces, bases and drinks (high-alcohol or fizzy drinks will struggle to hold a bubble). In that case you’ll need extra accessories such as a bubble spoon, sold in a set of 2: it’s the trick that guarantees your bubbles stay in place.
Likewise, an atomiser to spray water onto your bubbles and surfaces is a must-have accessory for keeping the moisture bubbles need.
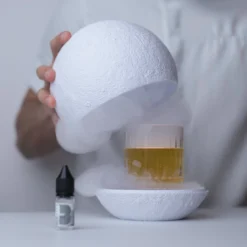
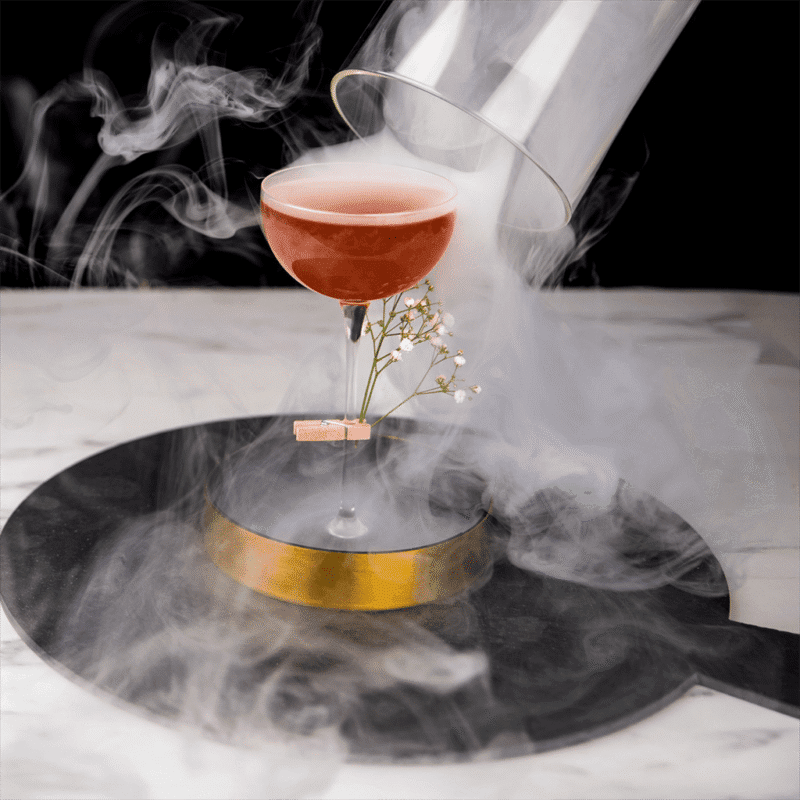
Finally, to shield your bubbles from draughts, choose our cloches: they trap the swirls of smoke over your creations and keep your bubbles intact until the big reveal in front of your guests.
5. Cleaning & care after use
Clean the nozzle and the tank
- Wipe with a soft cloth, dry or slightly damp
- Remove excess bubble liquid to prevent build-up
Switch the device off and store it away from moisture
- Keep it in a dry place
- Avoid prolonged exposure to heat
Replace coils / tanks when needed
- If the aroma smells burnt, change the coil or the disposable tank
- Don’t mix aromas: one tank per scent is ideal
💡 PRO TIP
For pure vapour and a longer-lasting gun, clean the nozzle after every service and always dedicate one tank to each scent. As soon as you notice a burnt smell, replace your coil or disposable tank so it doesn’t spoil the flavour of your cocktails.
In Summary
With a little practice, the flavoured bubble gun will become your best ally for impressing your guests or customers. Follow these steps, test, adjust… and above all, have fun creating spectacular cocktails!